Reduce lag with a Mikrotik hAP AC
Do you play online games? Probably. Have you experienced lag? Very likely. Or perhaps you just want a really good home router? This page will guide you through setting up the Mikrotik hAP AC, a powerful "small business" router with dual band Wi-Fi.
Background
No matter how fast your internet connection is, if another program or person on your network competes for bandwidth, the packets are processed with the same priority, resulting in increased latency (or worse, packet loss) for your game or other interactive applications. Whether you share an internet connection with roommates or operate a gaming house, LAN center, etc, this can quickly become a problem.
Many people are familiar with the trouble consumer grade routers can cause. It's not a surprise that the first troubleshooting technique is to reboot the device - consumer routers are designed to be low price and use cheap hardware with limited memory and poorly written software. From NAT table overflows to DHCP server crashes, your off-the-shelf router isn't that great. Many of them also have glaring security holes too which open your network to attack. While some routers offer QoS options to help prioritize traffic, they have very limited functionality and can even reduce performance since the hardware in such routers is not meant for any kind of serious processing.
Thankfully there's a good step in between full grade business routers like Cisco (real Cisco, not Linksys) and the off-the-shelf consumer routers that you find at your local PC store. Mikrotik is a Latvian based company that produces both hardware (called RouterBOARD) and software (RouterOS) that provides a solid platform on which to build a router. The hardware alone is far better than almost anything you can find in consumer routers - dual or quad core CPUs, plenty of RAM, etc. The software package (RouterOS) provides a GUI to a Linux-based platform - Linux is well regarded for its performance and stability, and RouterOS builds on top of that. Don't worry, you don't need to know any complicated Linux stuff, RouterOS handles it all for you.
This guide will focus on setting up and configuring the hAP AC. This is one of Mikrotik's newer router models targeted for home / small businesss use, with a 720 MHz CPU, high power triple chain 2.4 GHz 802.11n and 5 GHz 802.11ac wireless and five port gigabit Ethernet. The hAP AC can handle QoS up to around 250mbps internet connections.
Purchasing
As a Mikrotik RouterBOARD is somewhat specialized hardware, you are unlikely to find many physical stores carrying them, so be prepared to order online. Depending on where you live, you have several options. In the US, the hAP AC is available at roc-noc.com, one of my preferred distributors (I've ordered many times from them with zero problems). It's also available on Amazon through various resellers.
Outside of the US, I recommend consulting the Mikrotik distributor list to find a local seller.
Unboxing And Connecting
You'll receive a small box containing the router, a power adapter and possibly a sticker with your serial number on it. Don't expect any pretty manuals or setup CDs - remember these are not consumer routers! If you get a sticker, attach it to the bottom of your router for safe keeping. You don't need to worry about the serial number unless you have to do a complete re-imaging of the RouterOS software.
Depending on your distributor, the default configurations for the device can vary, but usually it will work out of the box with no setup. The 1st Ethernet port will be setup for WAN (internet) use, and ports 2-5 are your LAN. That weird looking port is an SFP port for connecting fiber optic cables, you can safely ignore it!
Connect your internet (cable modem, fiber, DSL, etc) to port 1 and a PC or laptop to port 2 on the router using an Ethernet cable, then plug in the power. The router should take around 15-30 seconds to boot. Now turn on your PC or laptop and it should hopefully acquire an IP address via DHCP from the router.
Accessing The Configuration Page
The most common default IP address range is 192.168.88.0/24, so your device will likely have an IP of 192.168.88.254 or similar. You should now be able to navigate to http://192.168.88.1/ in your browser to access "Webfig" - this is the web based management tool that will configure your router.
You may receive a message on the first login saying that a default configuration has been applied. If so, click "keep configuration", otherwise the router will reset to a completely empty state and require a much more complicated setup procedure!
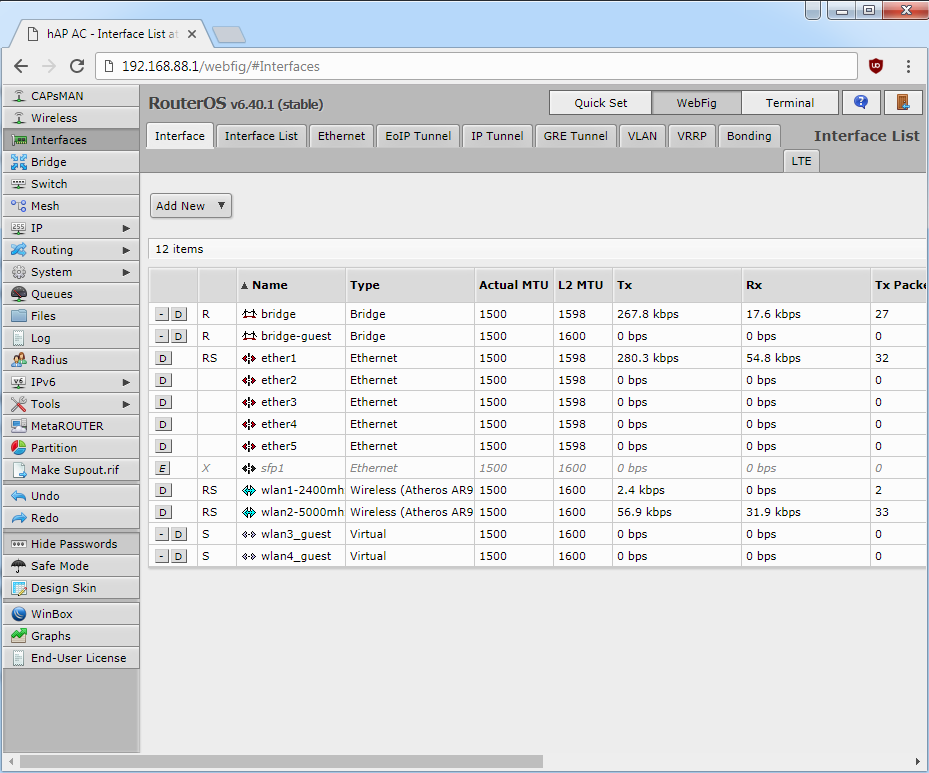
Depending on the version of the factory software, you may either be directly in the Webfig menu, or at the top of the screen there will be several tabs, "Quick Set", "Webfig" and "Terminal". We want to be using Webfig for the rest of this guide (like this screenshot).
Side note: RouterOS runs on top of a full Linux OS. As such, you should avoid abruptly unpowering the router where possible as you run a small risk of causing file system corruption. There is a system / shutdown option which you can use to initiate a clean shutdown, at which point it is safe to remove power.
Getting Up To Date
As the router has probably been sitting around in a warehouse for a few months, it's important to update the software to ensure you have the latest security and performance updates. To do this, on the left menu choose System / Packages and click "Check for updates". If an update is available, hit "Download and install" and your router will reboot and install the update.
Wireless Config
Now let's set up your wireless network. On the Wireless menu in Webfig, click on wlan1 to open up the properties for the 2.4 GHz wireless adapter. Press the "Advanced Mode" button at the top, then set the following options:
Wireless Protocol: 802.11
Frequency Mode: regulatory domain
Country: Your country
Channel Width: 20/40 MHz Ce
Frequency: Either 2412 / 2437 / 2462. You want to pick the least congested frequency - use the "Freq Usage" button as a quick test
SSID: Name of your wireless network
WMM Support: Enabled
WPS Mode: Disabled
Hit OK, then do the same things for wlan2 (the 5 GHz adapter). There are many more frequencies available in 5 GHz and some of them have special conditions for use. The "Auto" setting is probably a safe choice unless you know what you're doing. Be extra careful to make sure you've selected the correct country setting as some frequencies may be illegal to use otherwise!
Hit OK again, then go to the "Security Profiles" tab of the Wireless dialog. Click "default" and set the following:
Mode: Dynamic keys
Authentication Types: WPA2 PSK
Ciphers: aes ccm
WPA 2 Pre Shared Key: Your wireless password
Group Key Update: 01:00:00
This should leave you with a fully secured wireless network.
System Passwords And Other Settings
Go to System / Password and enter a password to secure the router's admin interface. You'll need this password to enter the configuration again in the future.
Go to IP / UPNP and tick Enabled. Click the Interfaces tab, then click Add New to add a new interface. Add ether1 (your internet) as an external interface. Hit OK, then Add New and add bridge-local as your internal interface. Enabling UPNP allows applications on your network to configure port forwarding automatically if needed.
Go to IP / DNS and enter 8.8.8.8 as your DNS server. This is Google DNS, which is usually faster and more reliable than your ISP DNS.
At this point you are pretty much set if all you want is a solid, stable router. The next steps will set up QoS to ensure smooth gaming and streaming.
Quality of Service
This is where it starts to get a little complicated. Rather than explain everything involving the firewall, connection marking, packet tagging, queues, priorities, etc, I'm going to give you a bunch of commands that you should run. To run these commands, you'll need to download the "Winbox" app as it uses console commands that aren't available in the web interface. Press the "Winbox" button, which should download a copy of Winbox for you. Log in to the router using Winbox and you'll see it looks mostly the same as Webfig, but it's a bit more powerful.
Press the "New Terminal" button in Winbox and paste in the following (you can press Shift+Ins to paste into the terminal):
/queue tree
add limit-at=9700k max-limit=9700k name=queue1 parent=ether1-gateway queue=default
add limit-at=6200k max-limit=6200k name=prio5-streaming packet-mark=streaming parent=queue1 priority=5 queue=default
add limit-at=100k max-limit=9500k name=prio8-untagged packet-mark=no-mark parent=queue1 queue=default
add limit-at=1G max-limit=1G name=prio3-gaming packet-mark=gaming parent=queue1 priority=3 queue=default
add limit-at=1G max-limit=1G name=prio2-misc-fast packet-mark=misc-fast parent=queue1 priority=2 queue=default
add limit-at=100k max-limit=9500k name=prio6-http packet-mark=http parent=queue1 priority=6 queue=default
/ip firewall mangle
add action=mark-packet chain=postrouting connection-mark=streaming new-packet-mark=streaming passthrough=no
add action=mark-packet chain=postrouting connection-mark=gaming new-packet-mark=gaming passthrough=no
add action=mark-packet chain=postrouting new-packet-mark=misc-fast packet-size=40 passthrough=no protocol=tcp tcp-flags=ack
add action=mark-packet chain=postrouting dst-port=53 new-packet-mark=misc-fast out-interface=ether1-gateway passthrough=no protocol=udp
add action=mark-packet chain=postrouting connection-mark=http new-packet-mark=http passthrough=no
add action=mark-connection chain=postrouting comment=Streaming connection-state=new dst-port=1935 new-connection-mark=streaming out-interface=ether1-gateway protocol=tcp
add action=mark-connection chain=postrouting comment=League dst-port=5000-5500 new-connection-mark=gaming out-interface=ether1-gateway protocol=udp
add action=mark-connection chain=postrouting comment=SC2 dst-port=1119 new-connection-mark=gaming out-interface=ether1-gateway protocol=udp
add action=mark-connection chain=postrouting comment=HotS dst-port=1120,3724 new-connection-mark=gaming out-interface=ether1-gateway protocol=udp
add action=mark-connection chain=postrouting comment="BW + HotS" dst-port=6112-6113 new-connection-mark=gaming out-interface=ether1-gateway protocol=udp
add action=mark-connection chain=postrouting comment="Valve Games" dst-port=27000-27060 new-connection-mark=gaming out-interface=ether1-gateway protocol=udp
add action=mark-connection chain=postrouting comment="Web Browsing" connection-state=new dst-port=80,443 new-connection-mark=http out-interface=ether1-gateway protocol=tcp
After doing this, click on Queues / Queue Tree and double click queue1. You'll see the value 9700k - this should be replaced by a little under your upload speed, in kbps. The copy/paste code above is designed for someone with 10 mbps upload, so the maximum upload is limited to 9.7mbps (9700k). You want to limit it just under your max upload, otherwise there is a risk the upload will be queued on your modem instead, making all the QoS worthless. After setting your max upload on queue1, double click streaming and set it to a little over your maximum stream bitrate so that the stream bandwidth is smoothed out (the default above is for a 6000kbps stream). If you don't stream just ignore this - it won't hurt anything.
Next, double click http and no-mark and do the same there - replace 9500k with a number slightly less than the number you used for queue1. This will ensure big HTTP downloads and generic uncategorized traffic won't be able to hog the connection.
You're done! You now have a basic upload QoS, with supported games being StarCraft 2, Brood War, Valve Source based games (CS:GO, Dota 2, etc), Heroes of the Storm and League of Legends . Gaming and important small packets such as TCP acks and DNS get the highest priority, ensuring there's no lag even if the upstream is being heavily used. The next highest priority is outgoing stream data, so if you're streaming you won't get dropped frames caused by other uploads such as videos or torrents. If you want to add additional games, figure out what UDP ports the game uses and copy one of the existing "mark connection" rules like SC2, replacing the dst-port with the appropriate UDP ports.